Get to 3.0 in No Time: Quick Beginner Advice

Hey guys, it’s John from John Cincola Pickleball. If you’re fairly new to pickleball and looking to expedite your game and get it to the next level, stick around because I’m going to give you my top three best tips to go from beginner to 3.0 in no time.
As a beginner on the pickleball court, things can get pretty overwhelming. You’ve got advice coming from all different places, and people are telling you what to do. How do you know what skills you should actually be working on to take your game to the next level? Well, I’m going to take the hard work out of it and give you what I think are the top three most important tips to get your beginner game ramped up quickly. So, let’s get into it.
Tip 1: Court Positioning
The first concept we’re going to tackle is probably the biggest beginner mistake I see time and time again: basic court positioning. No matter how good your skills are, if you’re in the wrong position on the court for the situation or at the wrong time, it’s going to make everything more difficult. The shots will be harder, the decisions will be tougher, and your skills will need to be that much better to compensate. To simplify, here are a couple of really basic rules to follow for better court positioning.
First, there’s only one situation in pickleball where your movement is 100% predetermined, and that is when you’re returning serve.
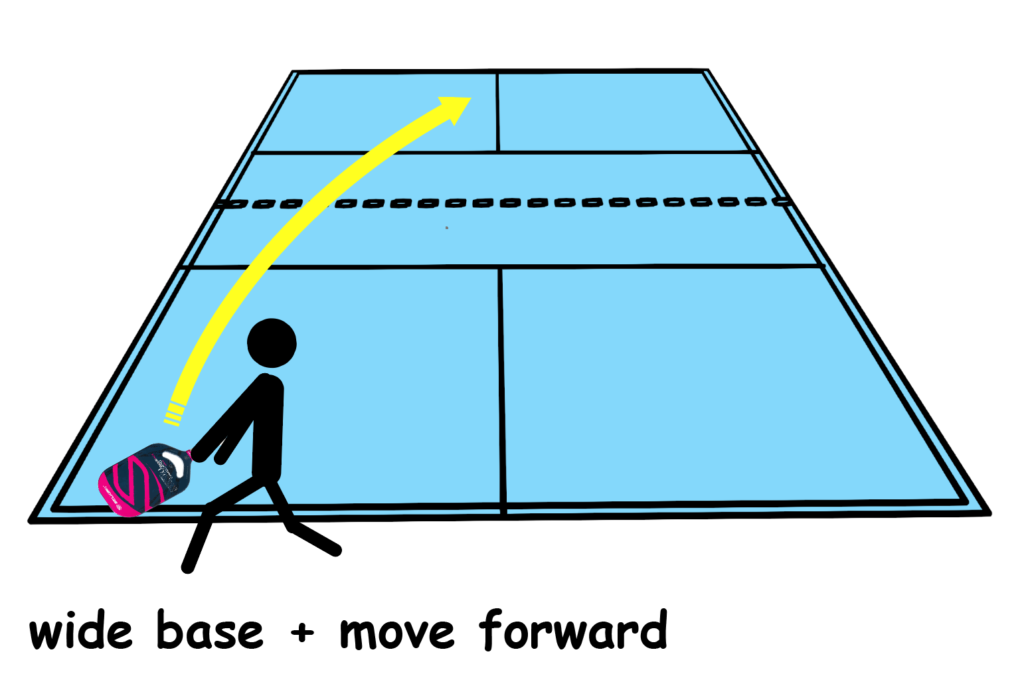
When returning serve, you start at the baseline, and your goal—100% of the time—is to hit the return and get to the kitchen line as quickly as you can (figure 1).
You should aim to be at the kitchen line by the time your opponents play their third shot. There’s no reason not to do this every single time you’re returning serve. Commit to this every single point.

Beyond the return of serve, things get a bit trickier because your movement will depend on various factors. However, there’s an overall goal to keep in mind: get to the kitchen line. Everything is easier when you’re at the kitchen line. You can attack more effectively, hit down on the ball, and make it harder for your opponents to target your feet.
The question then becomes: how do we know when to move forward, hold our position, or move back? For this, we’ll use a basic stoplight system:
- Green: Push forward towards the kitchen line.
- Yellow: Hold your position.
- Red: Back up to buy time.
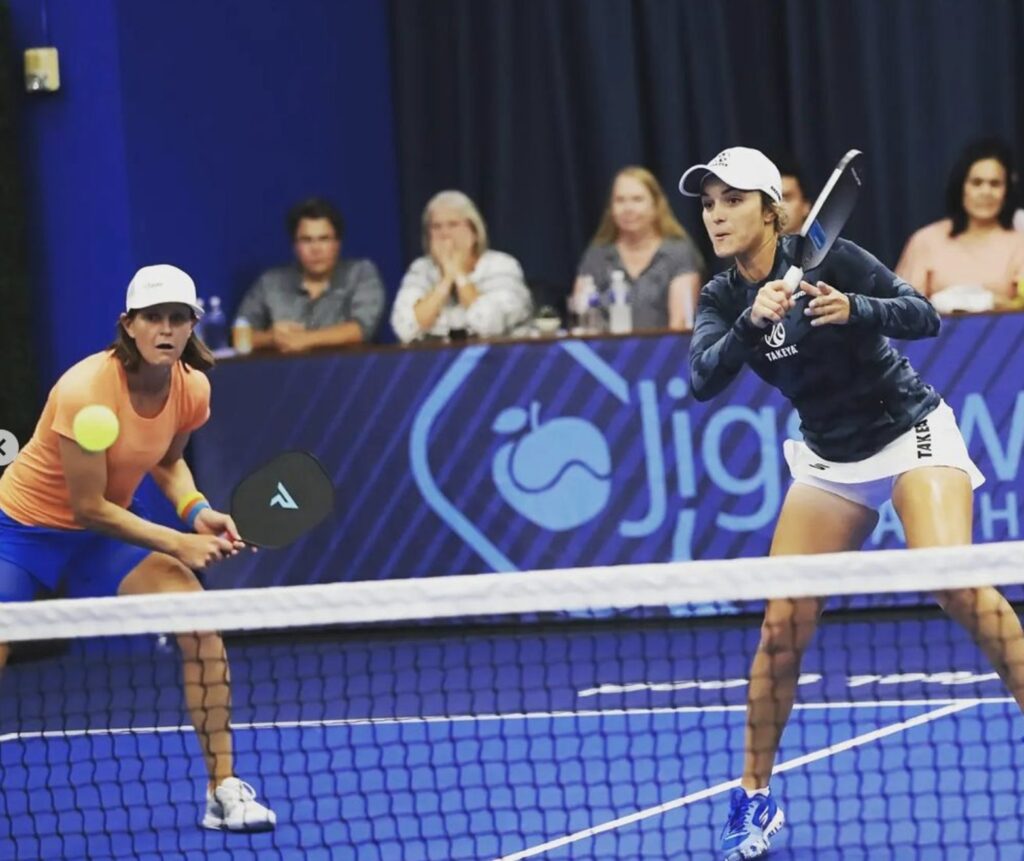
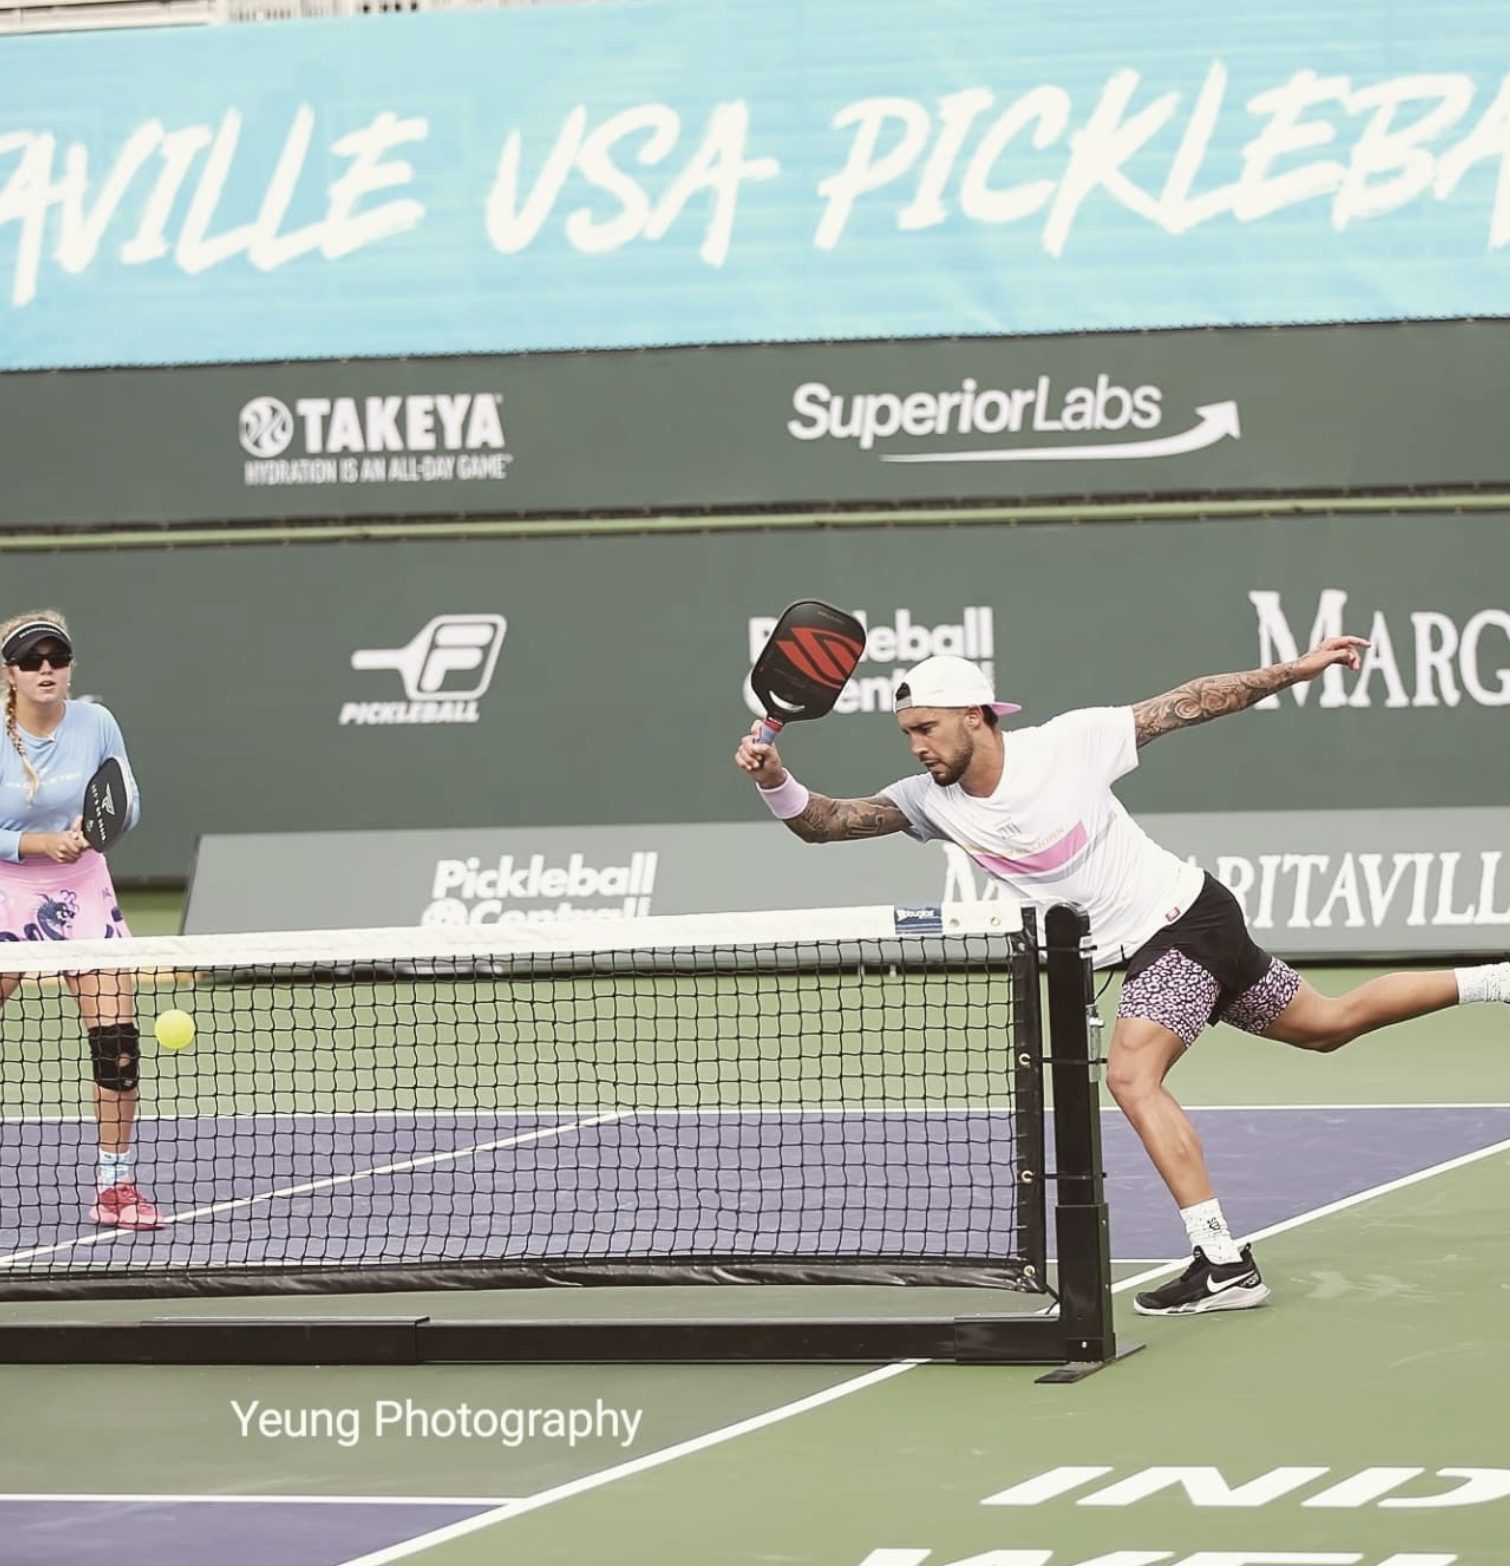
Before diving into what green, yellow, and red mean, you need to understand two key terms: attackable and unattackable. If your opponent is hitting a ball below net strap height, it’s considered unattackable (figure 2). If they’re hitting a ball higher than net height, they can hit down into the court, making it attackable.

Here’s how it works:
- If you hit a shot that’s unattackable, that’s a green light—move forward and improve your position by getting closer to the kitchen line.
- If you hit a shot that’s 50/50—maybe it’s at net height or you’re unsure—it’s a yellow light. Hold your position and assess the situation.
- If you hit a shot that’s clearly too high and attackable, that’s a red light. Either hold your position or back up to create more space and give yourself more time to react.
Tip 2: Paddle Control
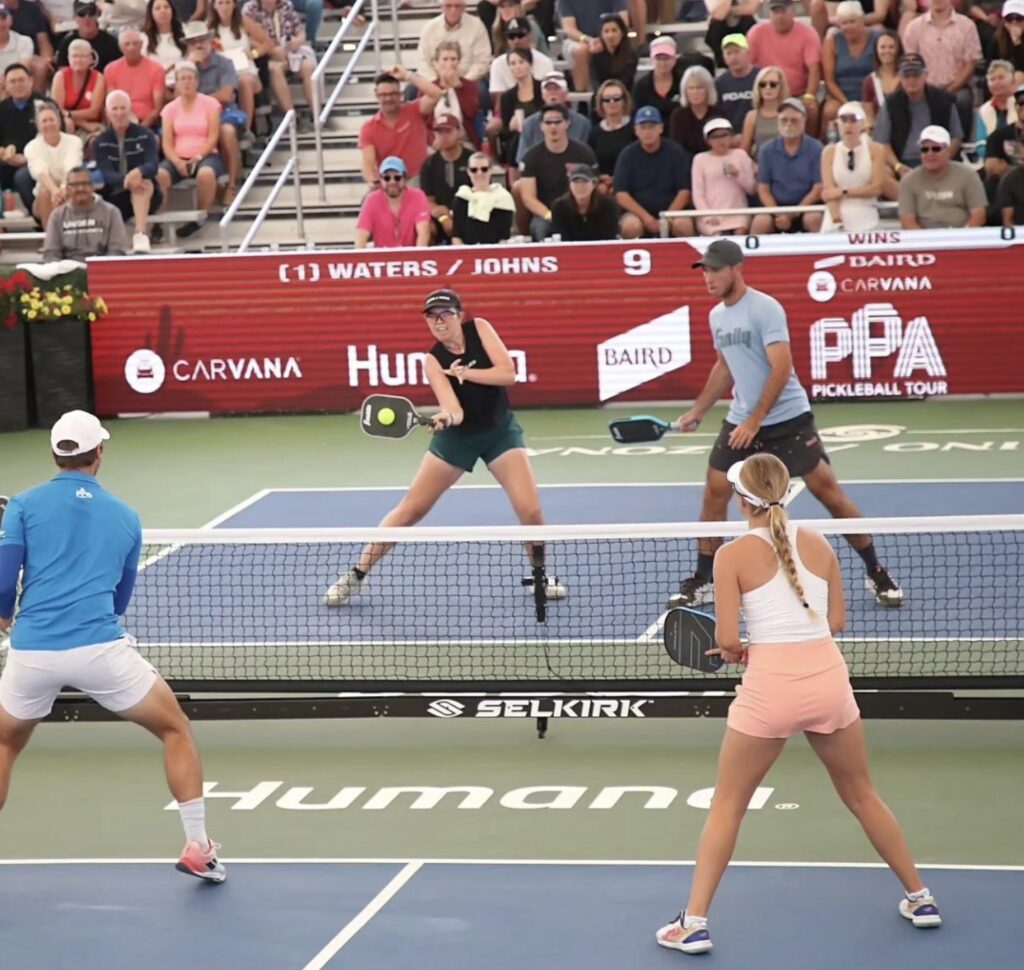
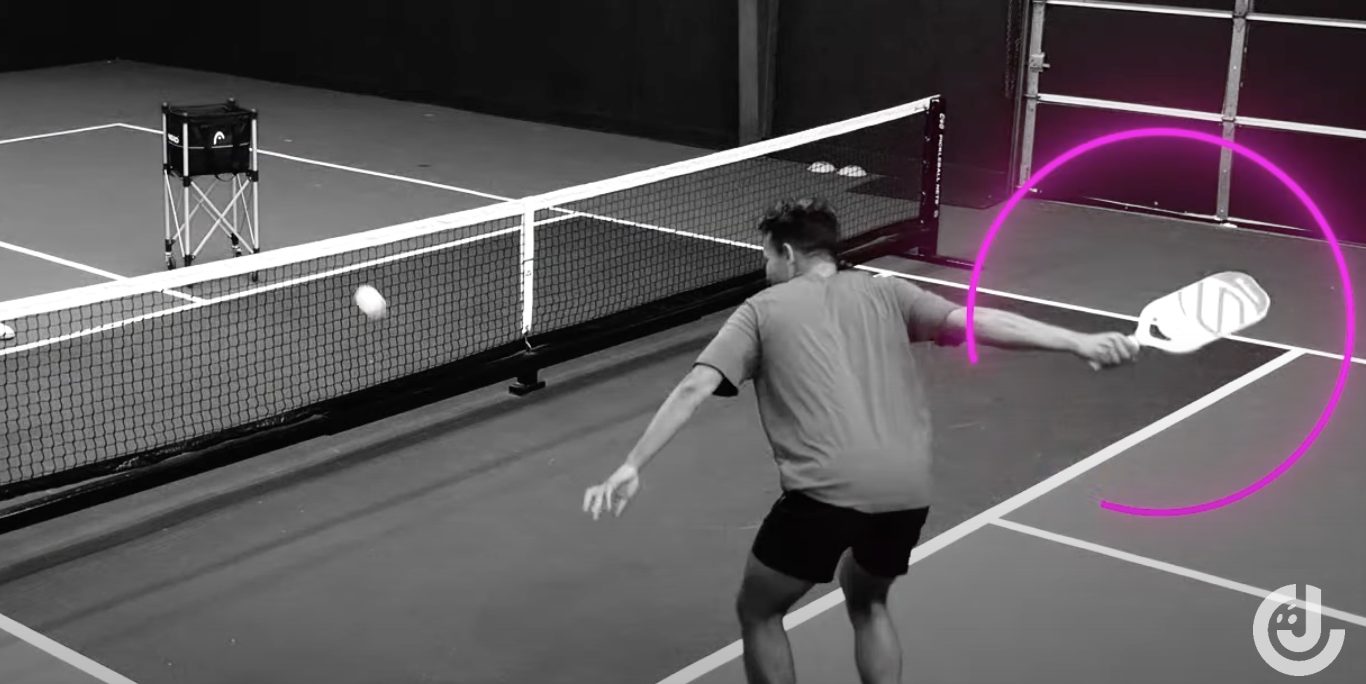
The second focus area, which is another common mistake at the beginner level, is paddle control. I often see beginners using way too much paddle movement. The paddle gets behind them (figure 3), the swing is too big, and the wrist is overly active. To improve, you need to minimize all of this unnecessary movement.
Here are a few drills to help with paddle control:
- The 6-Inch Dink Drill: The goal is to limit your paddle movement to just six inches on each dink. It may not sound like a lot, but trust me, it’s plenty. Practice keeping your paddle movement short and controlled.
- The Visual Check Drill: If you have a bright-colored paddle or edge guard, use it to monitor your paddle movement. As you dink with a partner, ensure you can always see the edge of your paddle in your peripheral vision. If the paddle leaves your sightline, your backswing is too big.
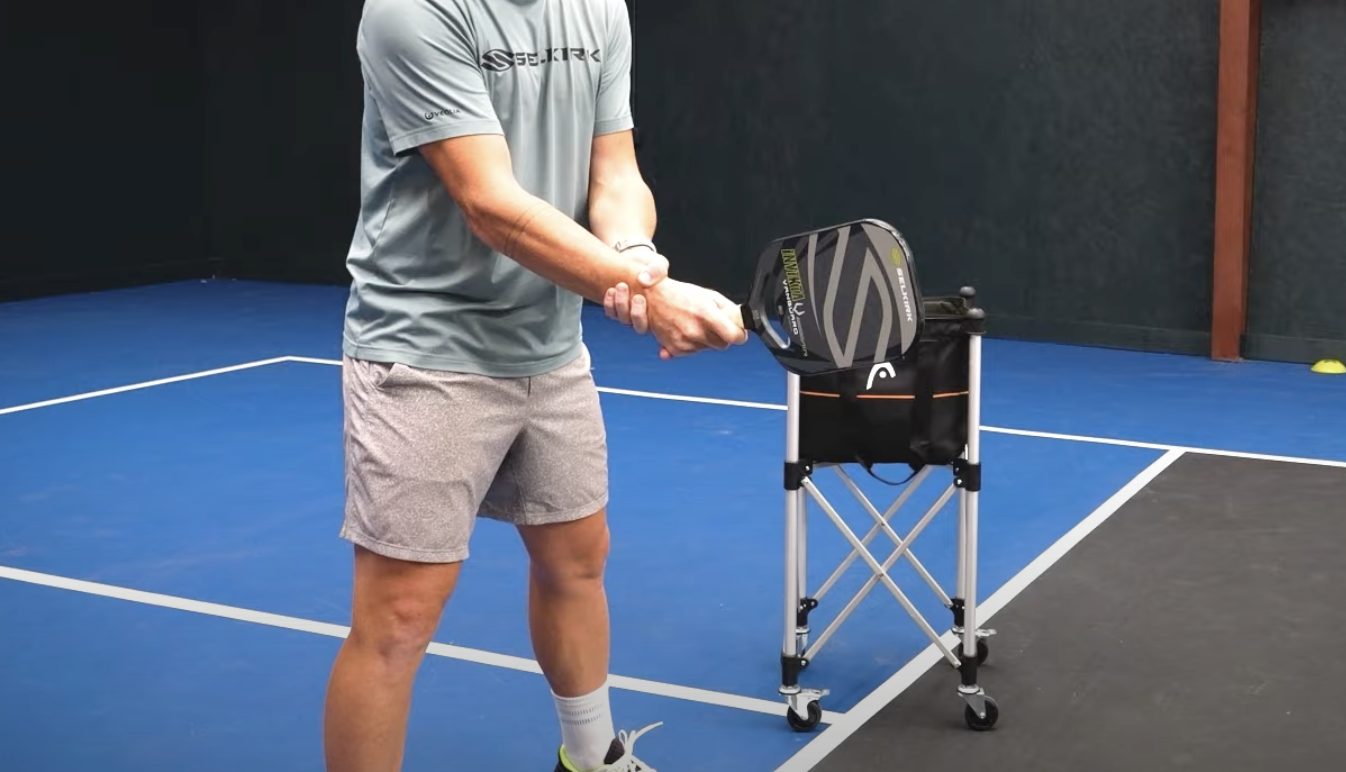
- The Handcuff Drill: Hold your dominant paddle hand with your off-hand (figure 4), essentially “handcuffing” your wrists together. This limits your ability to take the paddle too far back and forces you to keep your movements connected and centered.
Final Thoughts
Thanks for reading! Don’t forget to take a screenshot of this information so you have it handy the next time you hit the court. By focusing on better court positioning and paddle control, you’ll see significant improvements in your game.
For exclusive content and full-version tutorials, make sure to check out my YouTube channel, ➡️ John Cincola Pickleball.
